
AI Food Photo Editor for Restaurants: The Complete Guide
Every editing decision behind a menu photo — style, angle, surface, plate, background — explained and demonstrated. Try each one in the page, no signup.
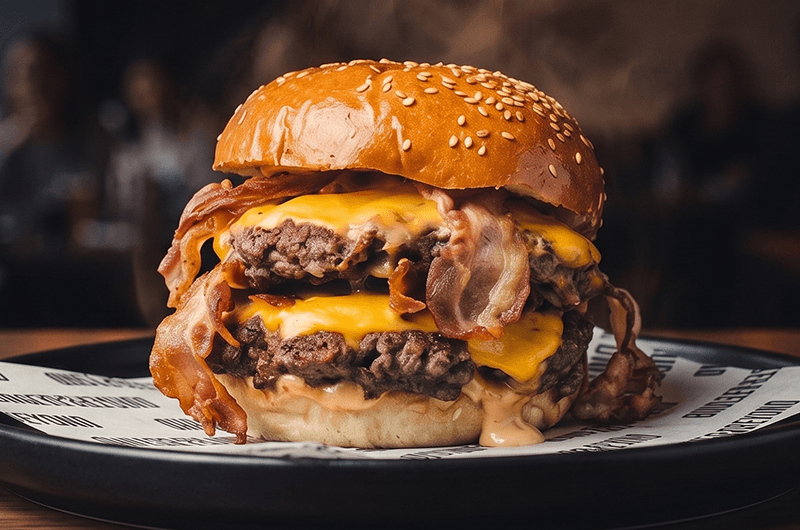
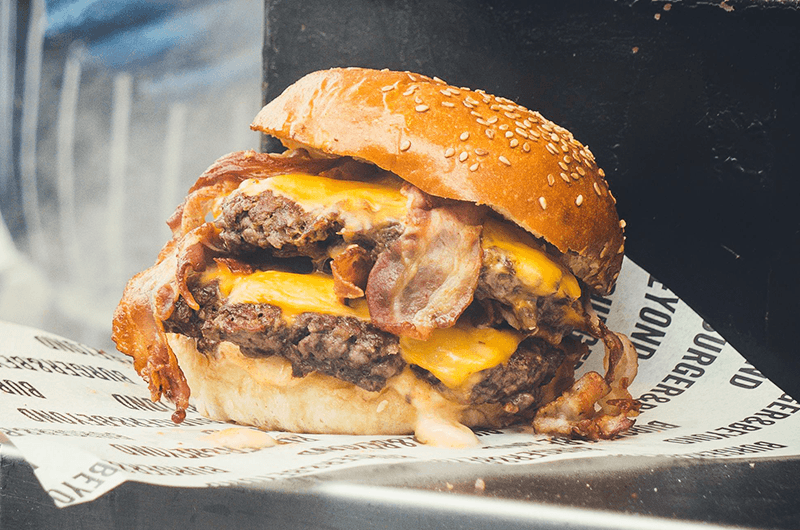
Same dish, different sales
Most restaurant menus lose orders in the thumbnail. The dish is good, the kitchen is good, and the photo is a phone snap taken under a service light at 21:00 — dark, tilted, and sitting next to a competitor's studio shot on the same delivery app screen.
The traditional fix is a photographer: a few thousand złoty, weeks of scheduling, and a set of images that covers only the dishes you serve today. An AI food photo editor changes the economics — you keep the dish exactly as it is and change everything around it.
This guide walks through every editing decision that goes into a menu photo. Each one has an interactive example you can click through in the page. No signup, no credits.
What an AI food photo editor actually changes
Stays exactly as photographed
- The dish itself — ingredients, portion size, plating
- What the customer actually receives
Rebuilt around the dish
- Lighting direction, softness, and colour temperature
- Camera angle and crop
- The surface under the plate
- The plate itself
- The room and background behind the dish
Anatomy of the item editor
One dish, one screen. The photo and its versions on the left, every decision on the right.
Item editor
Style
Surface
Camera angle
Background
+ Add special request (optional)
Live preview
The current version of the dish, with a toggle back to your original at any time.
Five version slots
Every generation lands in its own slot, so you compare side by side instead of overwriting.
Plain-language edits
Type a change — "add steam", "remove the wrapper" — and it applies to this photo only.
The four preset axes
Style, surface, camera and background. The same four decisions a photographer makes on set.
Save to the menu
Promote the version you picked to be the dish's menu photo.
The five decisions behind every menu photo
Every professional food photo is the result of five choices made before the shutter fires. A photographer makes them with equipment and a studio; an editor makes them with presets. They are the same five decisions.
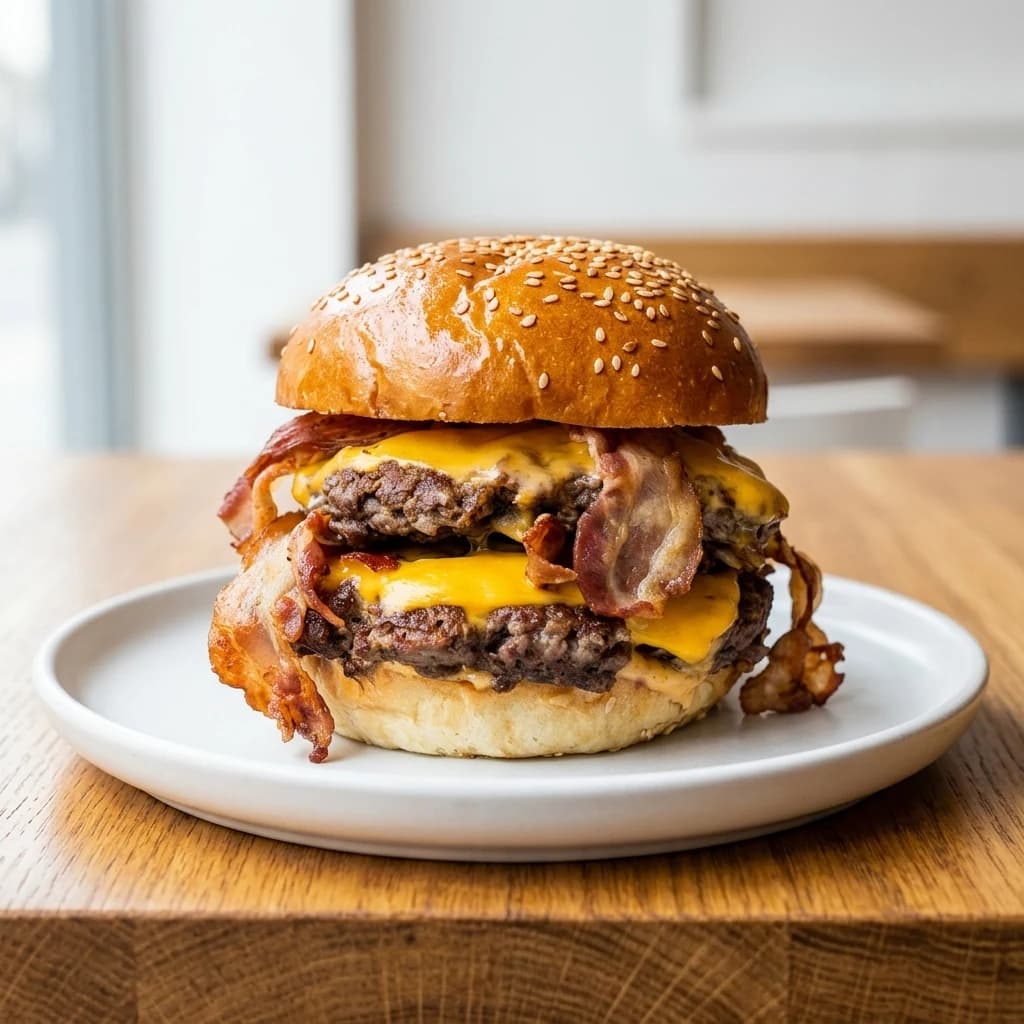
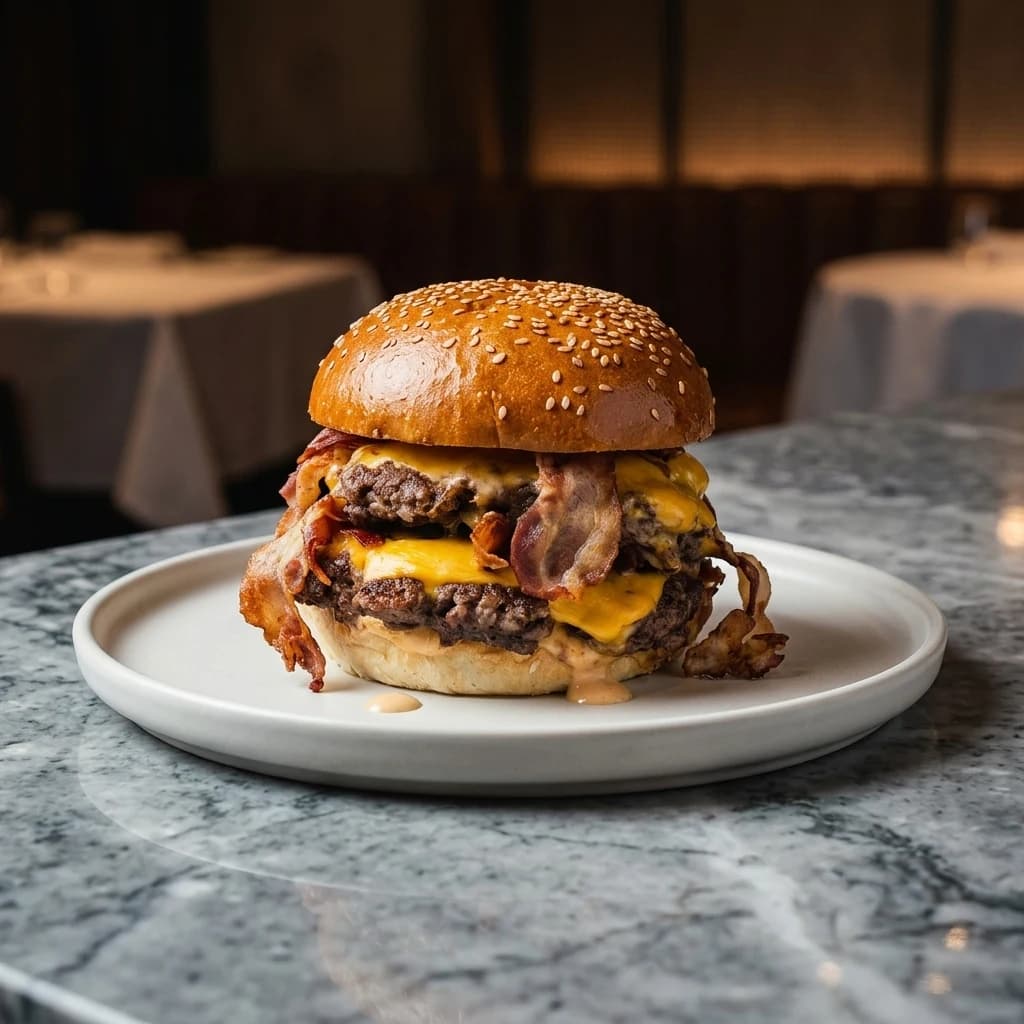
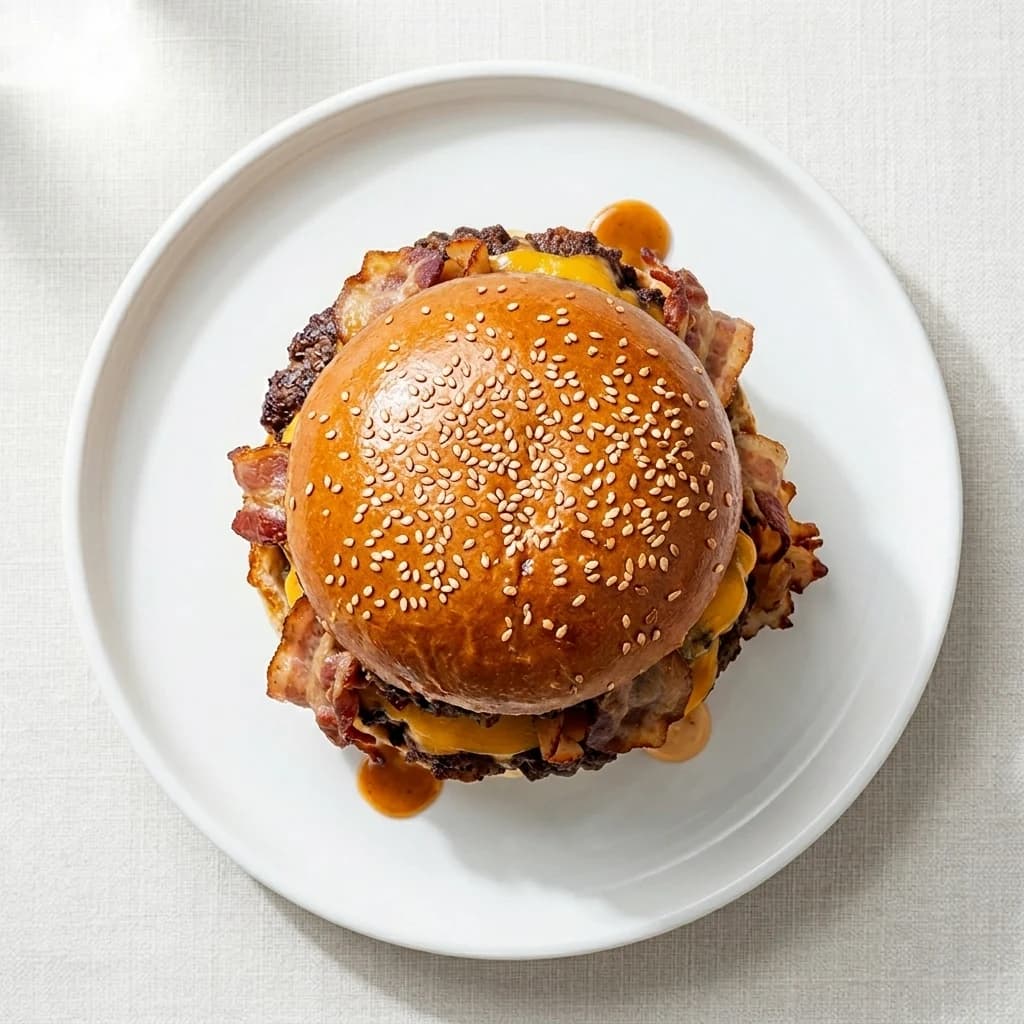
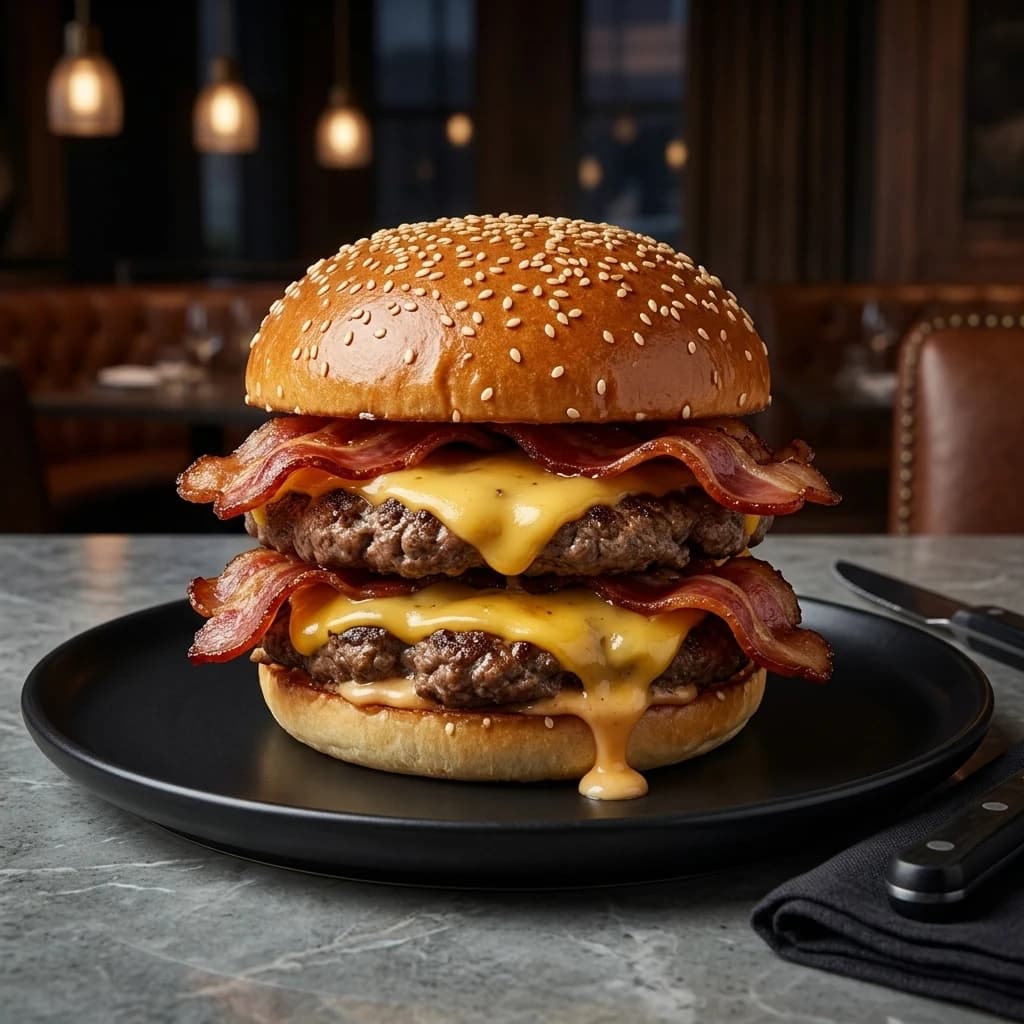
The panel below is a real, complete set of renders of the same burger — every combination of all five axes. Change any of them and the image updates instantly. This is the exact decision surface you get inside the editor.
Signature Lift · Top-front · Wooden board · White · Bright service
Build the shot
Every combination below is a real render of the same burger. Change any axis and see exactly what that decision does.
Style: the grade over the whole image
Style is the overall photographic treatment — contrast, how highlights roll off, and the colour grade. It is the single choice that most affects whether a menu reads as premium or as a canteen.
Elevated contrast with refined highlight roll-off and a premium editorial color grade. Keeps the hero ingredient prominent.
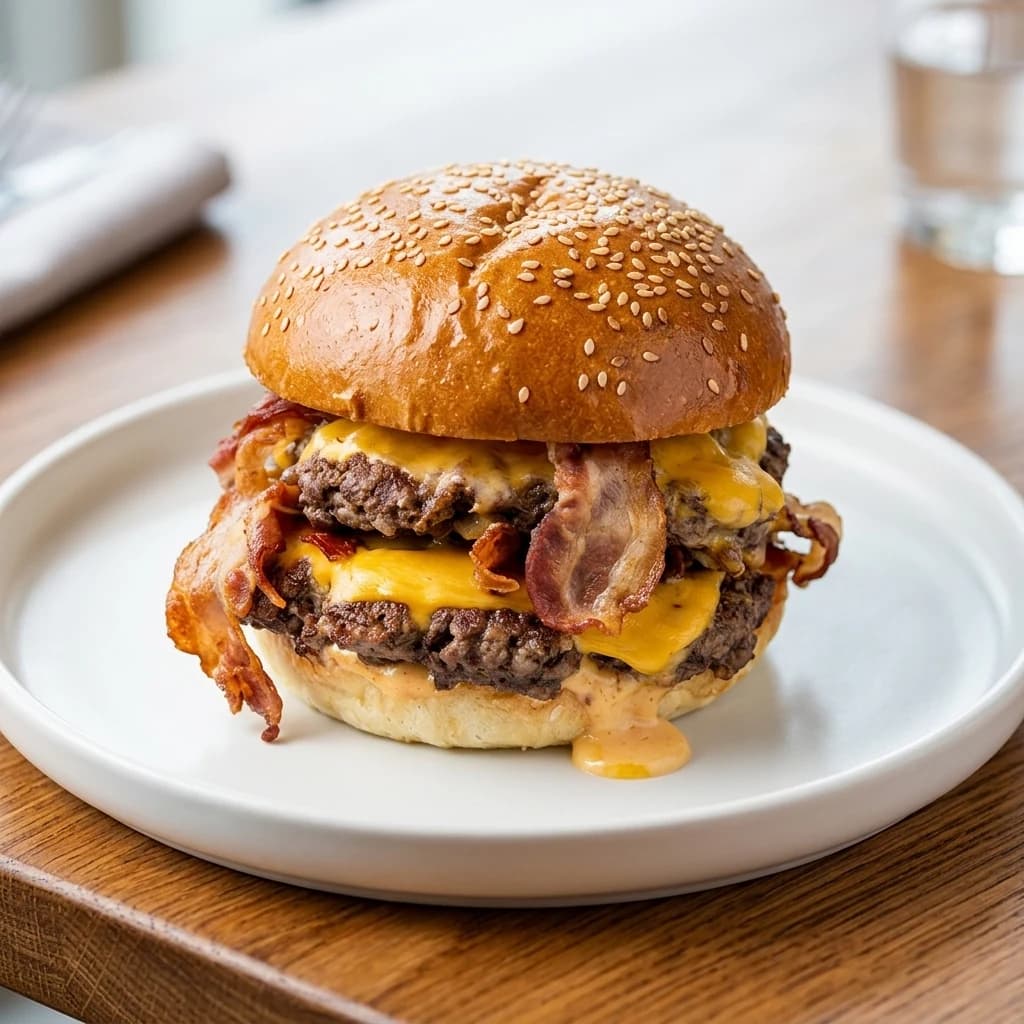
Soft balanced tones with polished highlights, cleaner edges, and a refined modern magazine finish.
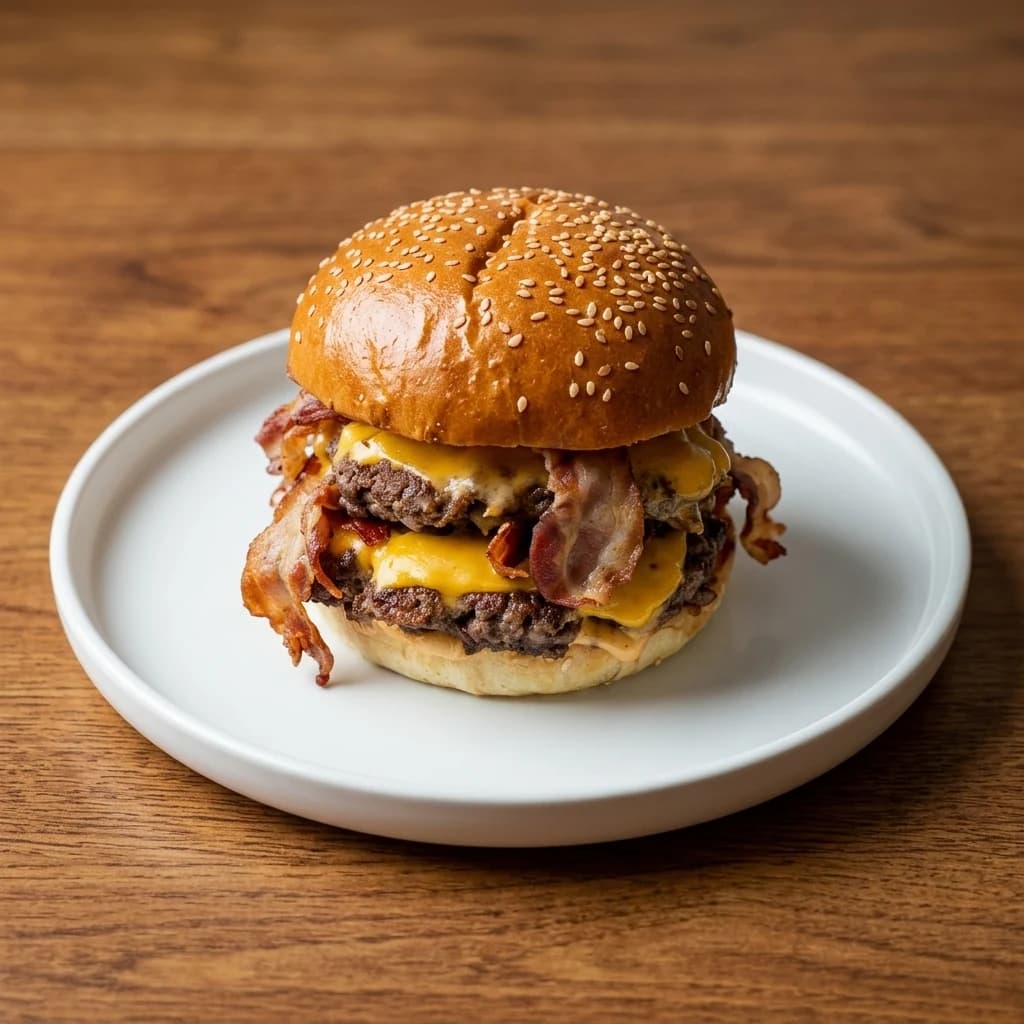
Bright, modern, and luxuriously minimal composition with generous negative space.
Pick one and keep it across the whole menu. Mixing styles is what makes a menu look assembled rather than designed.
Camera angle: how the dish is read
Angle is not decoration — different dishes are legible from different heights. A pizza or a bowl reads best from directly above, because that is where its shape lives. A burger read from above is a bun. A layered dessert or a stacked burger needs a lower angle to show its structure.
Classic three-quarter food angle—adds depth so guests see both the surface and the rim of the plate.
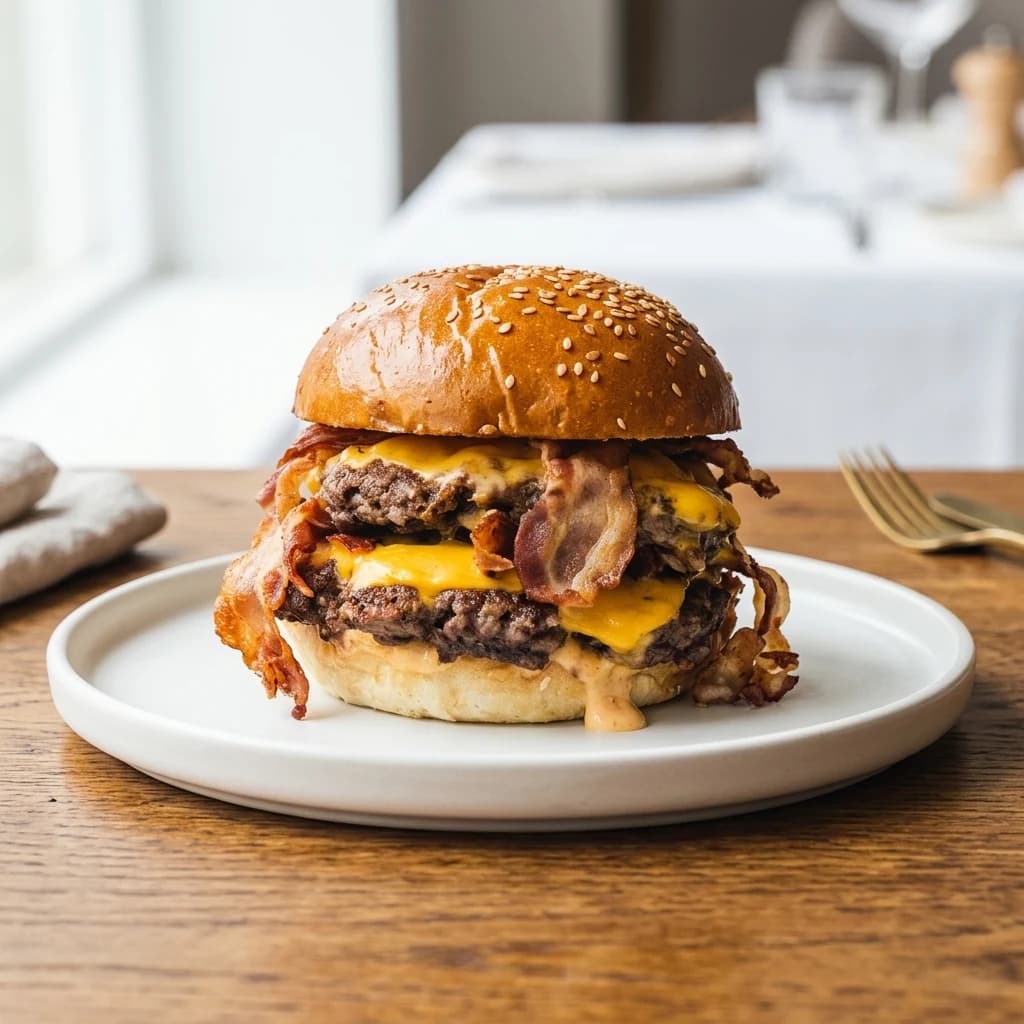
Camera level with the front of the plate—familiar, balanced thumbnail that reads quickly in a menu grid.
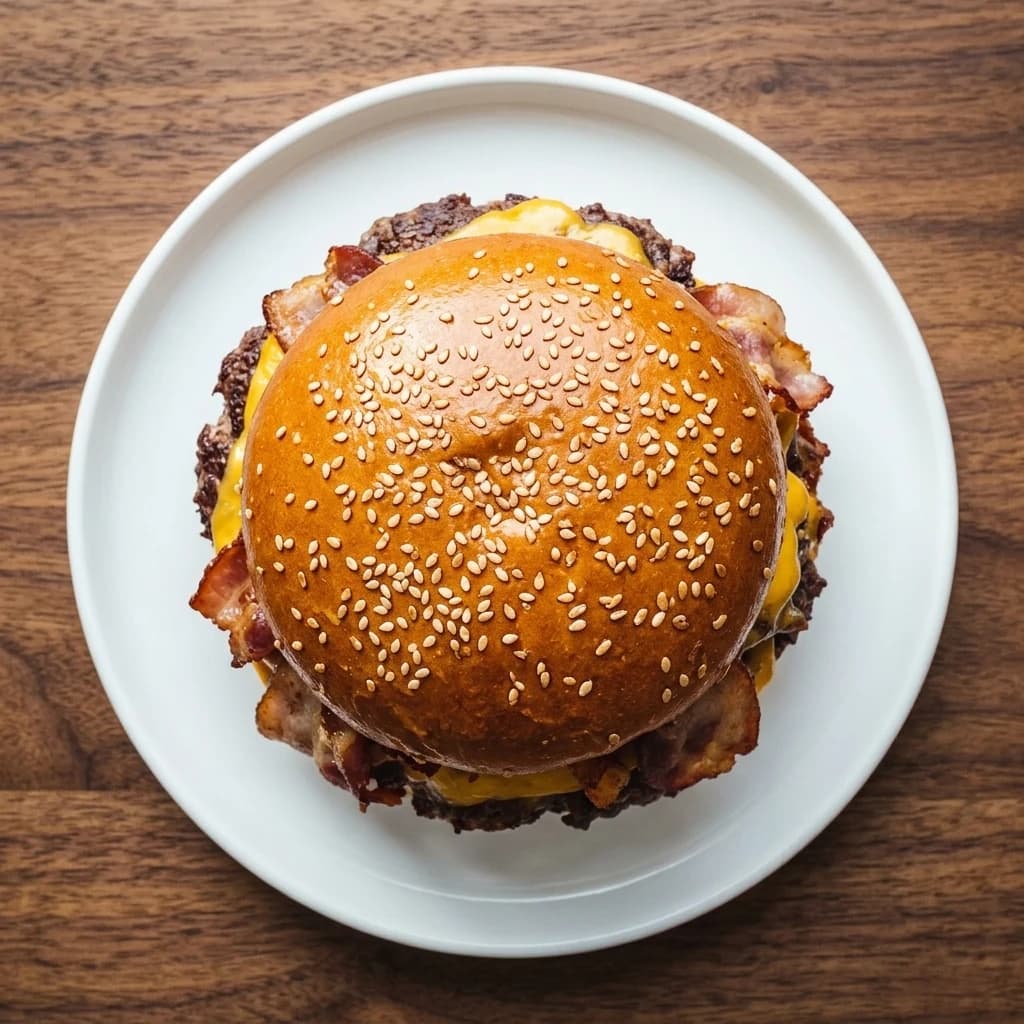
Camera straight above the plate—shows the full plate, symmetry, and how elements sit on the dish.
The rule of thumb: shoot the axis where the dish has the most information.
Surface and plate: the two-thirds of the frame that isn't food
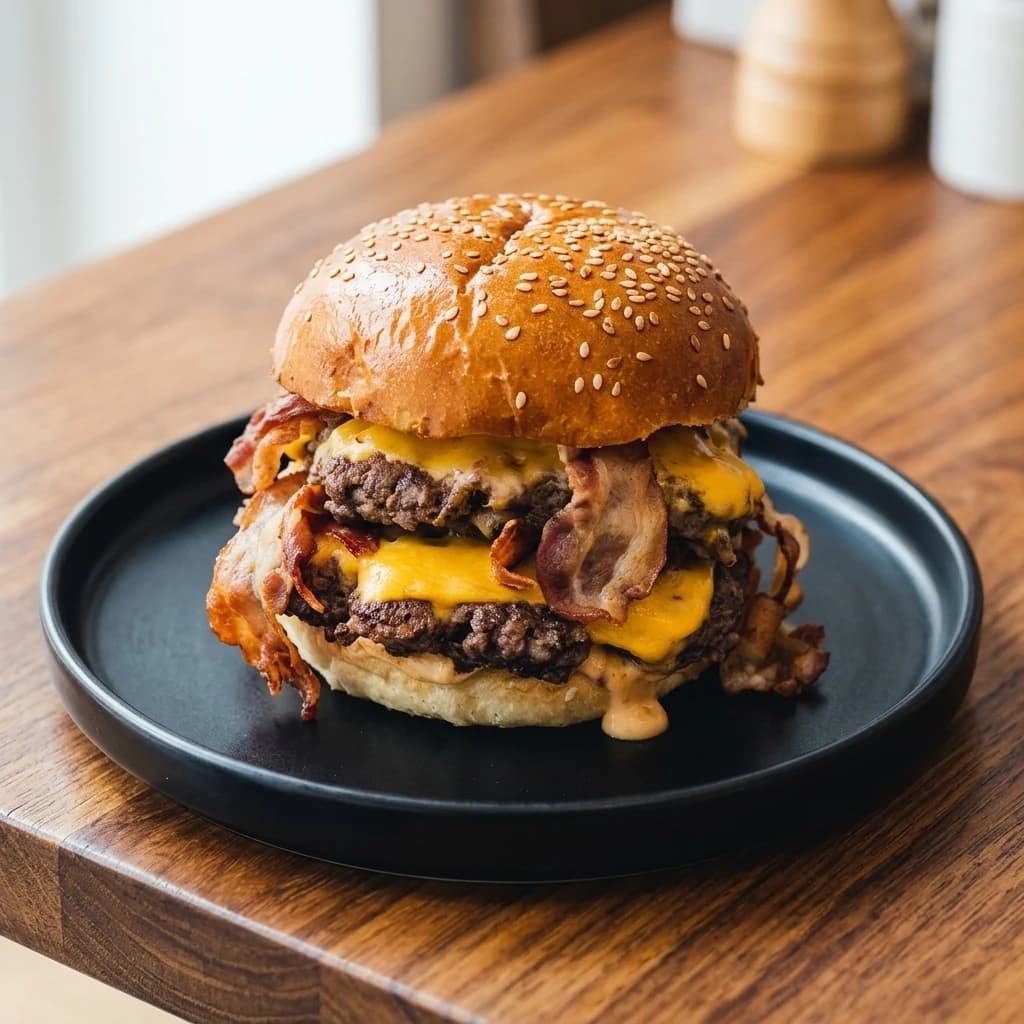
In a square menu thumbnail, the dish usually occupies about a third of the pixels. The surface and plate fill most of the rest, which makes them the fastest way to change how a photo feels without touching the food.
Warm timber grain that adds craft, depth, and a rustic table story around the dish.
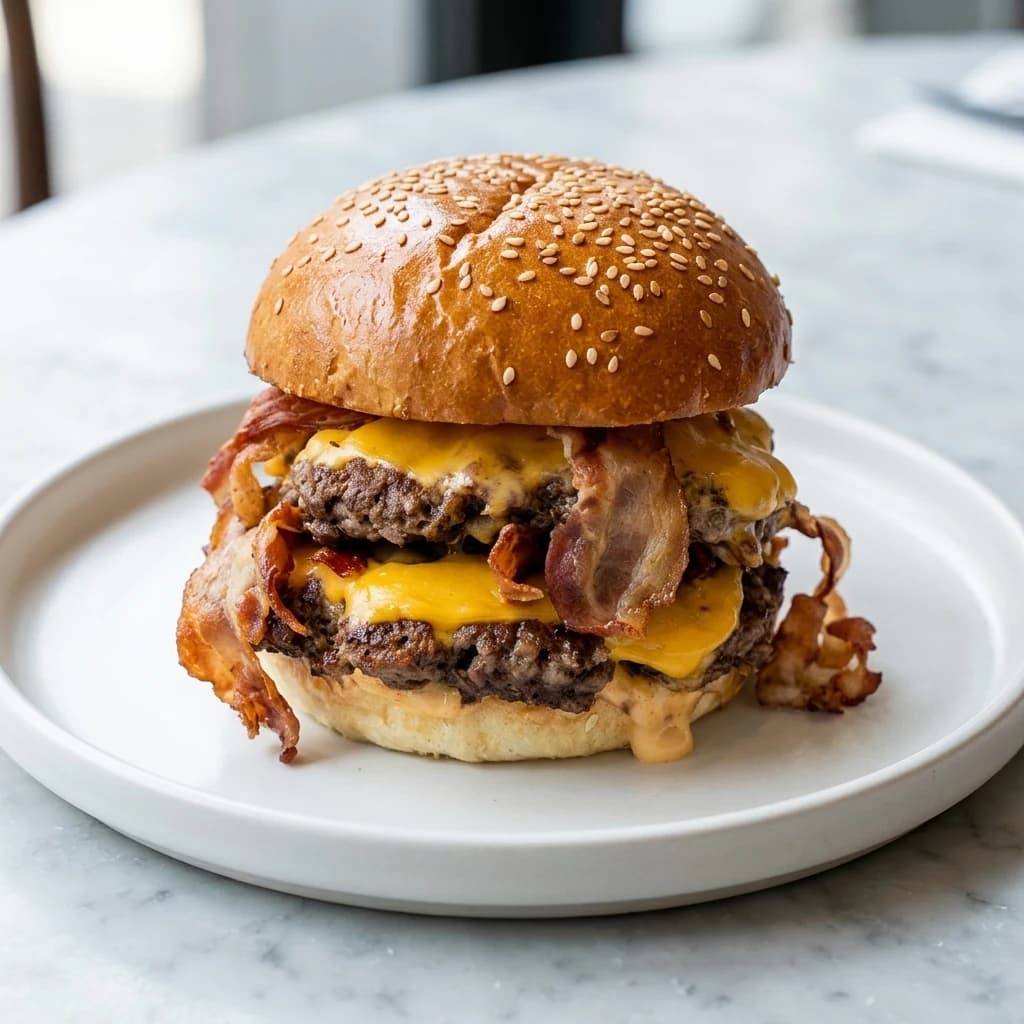
Cool polished stone surface with a clean luxury feel for premium dishes.
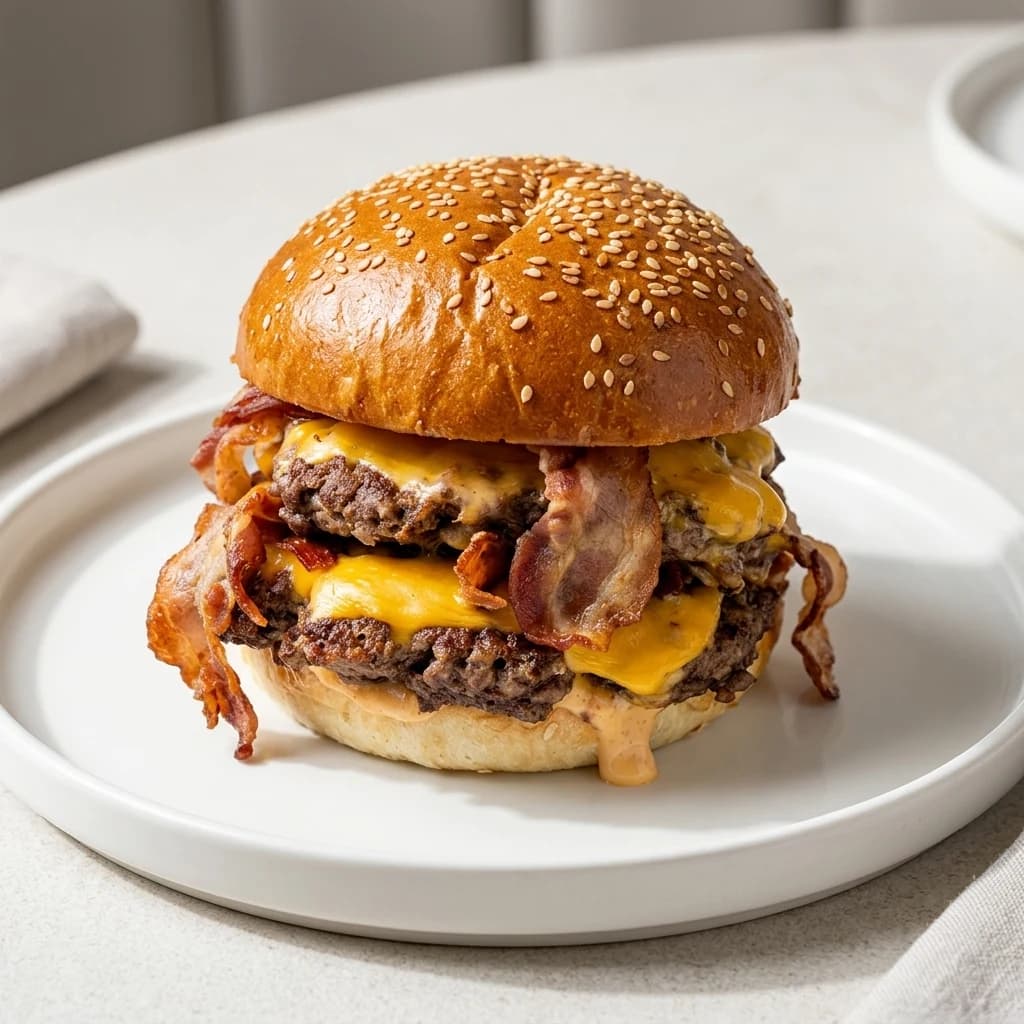
Bright neutral base with soft shadows; keeps the food colors central and uncluttered.
Dark surfaces make bright food pop and read as evening and premium. Light surfaces read as fresh, daytime, and casual. Wood reads as craft. Choose the one that matches how you want the venue perceived, not the one that matches your actual tables.
Background: preset scene, brand colour, or your own room
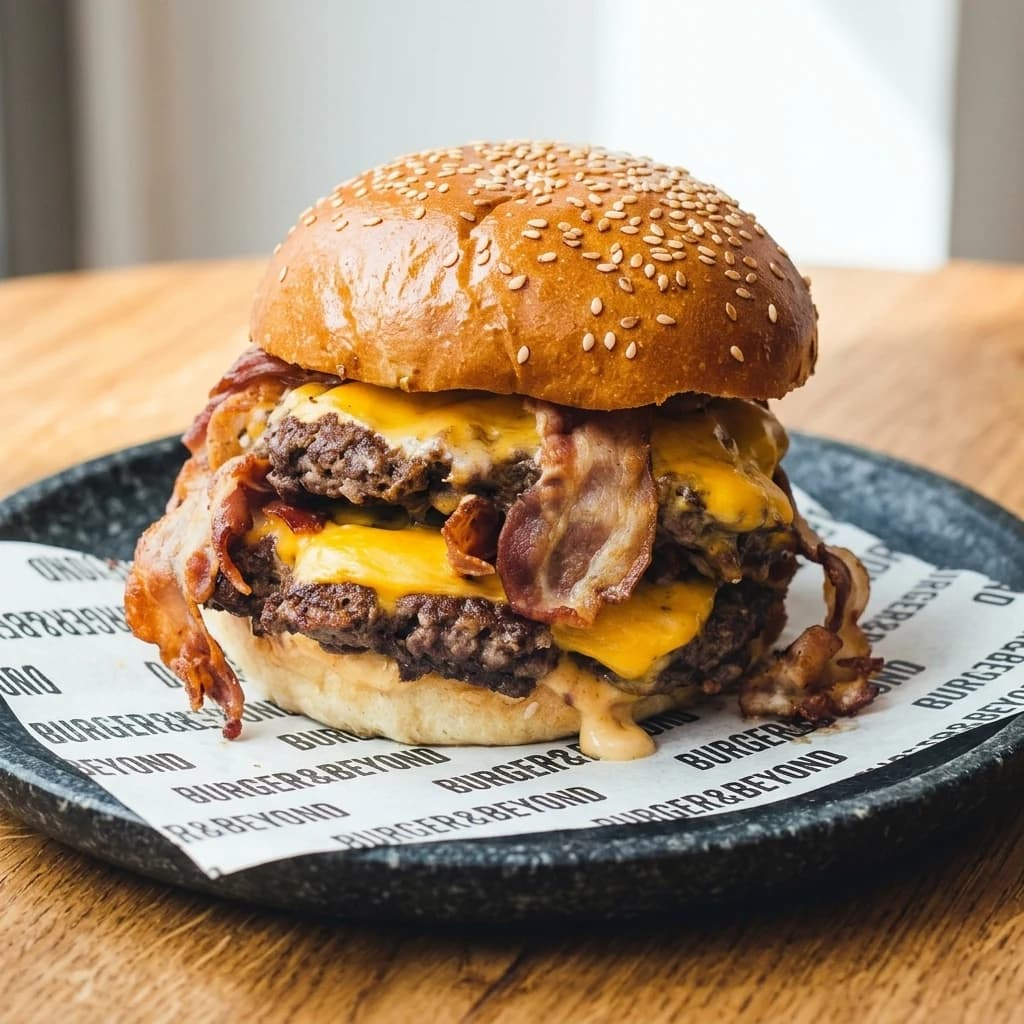
The background is where a menu can stop looking generic. There are three routes, and they suit different businesses.
Bright, airy scene with clean whites, soft shadows, and fresh daytime service lighting.
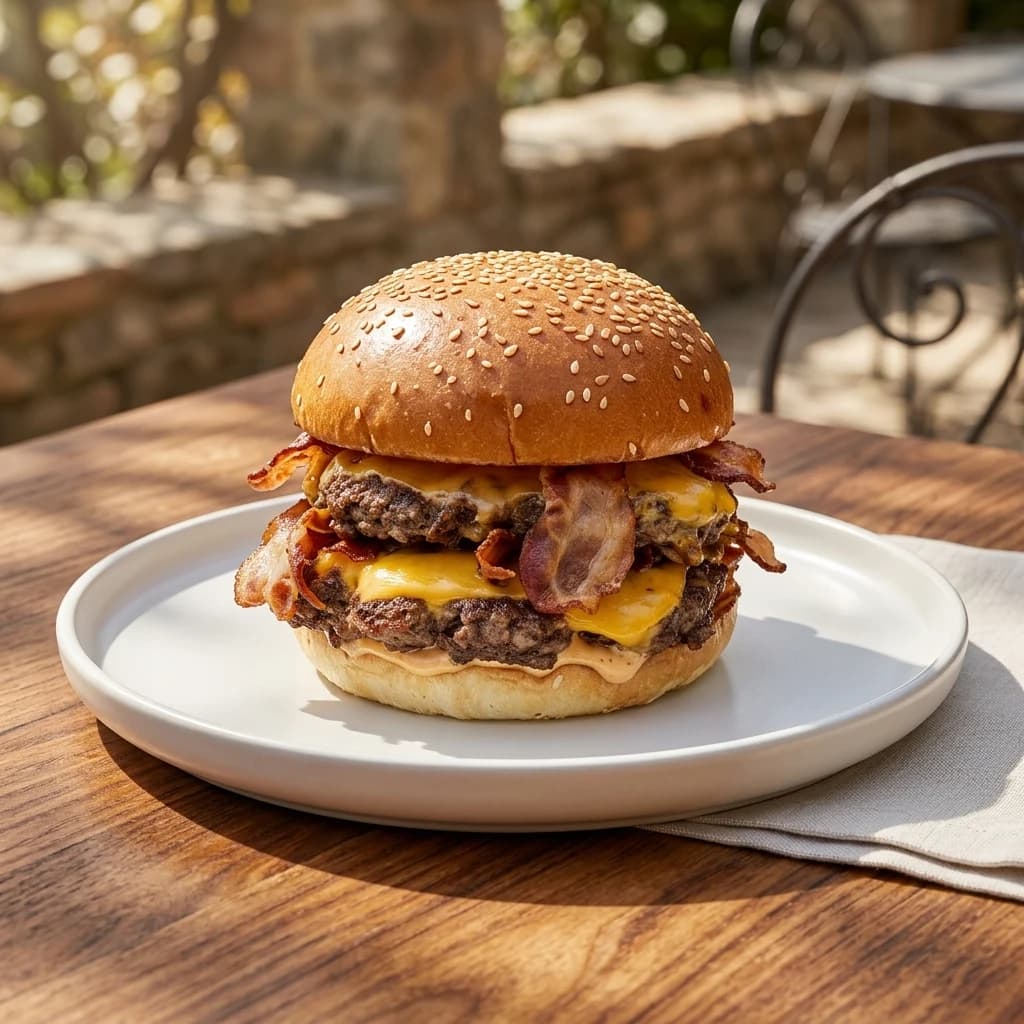
Sunlit terrace setting with natural warmth, dappled light, and a fresh outdoor atmosphere.
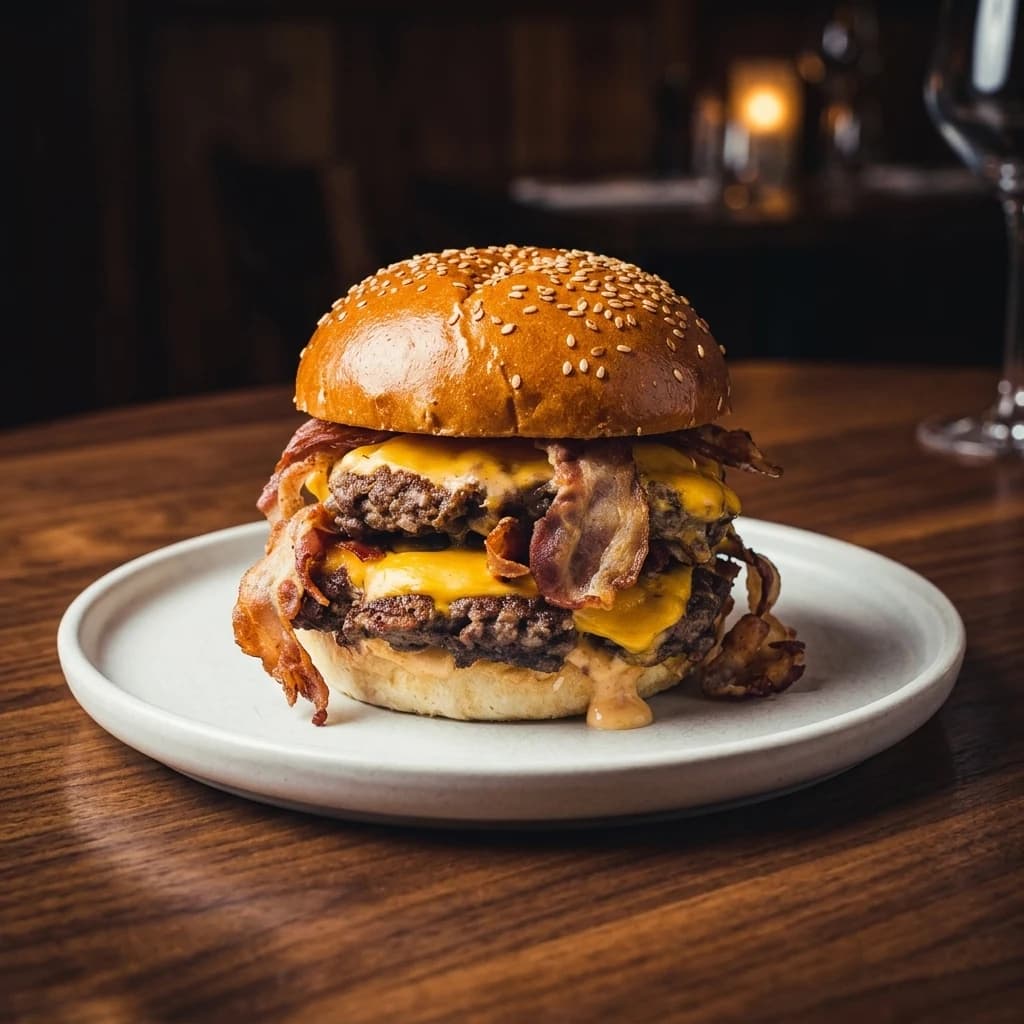
Moody dining-room backdrop with warm ambient lighting and an intimate evening-service atmosphere.
When presets aren't enough: describe the change
Presets cover the structural decisions. For everything else there is a text field: describe the change in plain language and it is applied to the current image only.
This is the tool for the specific, small corrections that no preset anticipates — the ones that otherwise send you back to the kitchen to re-plate and re-shoot.
Instructions that work well
- Add steam rising from the bowl
- Remove the paper wrapper on the left
- Make the sauce glossier
- Add fresh basil on top
- Warm up the lighting slightly
Each instruction applies to the photo in front of you and changes nothing else. Edits chain, so you can keep refining the same image.
Getting your whole menu in without uploading it twice
The slowest part of any menu photo project is not editing — it is data entry. Typing 60 dish names, descriptions, and prices into yet another tool is the reason most restaurants abandon this halfway through.
- Signature Tonkotsu Ramen48,00 zł
- Chef's Sushi Selection72,00 zł
- Shrimp Pad ThaiNo photo42,00 zł
- Artisan Dim Sum Selection38,00 zł
If your menu is already live on a delivery platform or your own website, paste the URL instead. The menu is read from the page and every dish comes across with its name, description, price, and existing photo, ready to select and import.




 Your own website
Your account credentials are never involved — only the public menu page is read.
The dish you never photographed
Type the dish and its plating. You get a photorealistic image in the same house style as the rest of the menu.
Create a dish image
Describe the dish and we'll create a photorealistic menu image for you.
Dish name
Description
 Menu-ready
Output specs: one dish, every platform
Delivery apps, your website, and Instagram all want different shapes. Exporting the same square crop everywhere means a cropped dish on at least one of them.
Set the aspect ratio and resolution per dish, or set them once as a default for the whole menu.
1:14:33:416:99:16Resolution
- 1K for delivery app thumbnails, 2K for websites, 4K for print and large signage.
See it the way your guest will
Menu
Tonight's menu
 Order
OrderSignature Tonkotsu Ramen
48,00 zł
Savory pork bone broth topped with seared chashu, marinated egg, wood ear mushrooms, sweet corn and aromatic scallions.
See it the way your guest will
Before anything goes live, preview the whole menu as a phone screen — the only place your photos actually get judged.
AI editing vs a photographer vs your phone
All three are legitimate choices, and the right one depends on how often your menu changes.
| Approach | Cost | Turnaround | Best for |
|---|---|---|---|
| Phone photo, unedited | Free | Minutes | Nothing customer-facing. This is the baseline you are trying to beat. |
| Professional photographer | 2 000–8 000 zł per shoot | 2–6 weeks | A flagship venue with a stable signature menu and a budget for reshoots. |
| AI editing of your own photos | Per-image, no subscription | Minutes per dish | Menus that change — seasonal dishes, specials, delivery-first kitchens, multi-location chains that need one look. |
The realistic workflow for a 40-dish menu
Import or upload
Paste your delivery platform URL and the whole menu comes across — names, descriptions, prices and existing photos. No live menu? Upload dish photos directly instead.
Import from a link
Found 21 dishes
- Signature Tonkotsu Ramen48,00 zł
- Chef's Sushi Selection72,00 zł
- Shrimp Pad Thai42,00 zł
Or upload your photos
Two ways in: paste the URL of a menu you already have live, or upload dish photos yourself. Most menus use both.
Frequently asked questions
Does it change the food itself?
No. The dish in the frame stays as photographed — same ingredients, same portion, same plating. What is rebuilt is the scene around it: lighting, angle, surface, plate, and background. This is deliberate: delivery platforms can remove listings whose photos misrepresent the item.
How good does my original photo need to be?
Usable, not good. Shoot in daylight where you can, get the whole dish in frame, and avoid heavy motion blur. Dim light, a cluttered table, a takeaway container, and a bad angle are all recoverable. A photo where the dish is unrecognisable is not.
Can I use the images on Pyszne.pl, Wolt, Glovo and Uber Eats?
Yes. The images are yours to use on any platform, your own website, printed menus, and social. Export at the aspect ratio each channel expects — 1:1 for most delivery tiles, 9:16 for stories and kiosk screens.
What happens when I add a new dish next month?
Add it to the collection and it inherits the look you already set — same style, angle, surface, and background as the rest of the menu. That is the main advantage over a one-off photo shoot, which only covers the dishes that existed on the day.
Do I need a subscription?
No. Image edits are bought as one-time packs and added to your balance. A restaurant that refreshes its menu twice a year does not need to pay monthly in between.
What if a dish comes out wrong?
Each dish keeps up to five versions side by side, so you compare rather than commit. If none work, change a single setting for that dish without affecting the menu, or describe the fix in plain language — "remove the wrapper", "add steam", "make the sauce glossier".
Try it on your own dish
The demo on the homepage runs the same five decisions on a sample dish — no login, no card.